Installation
git clone https://github.com/EPFL-VILAB/omnidata
cd omnidata/omnidata_tools/torch
conda create -n testenv -y python=3.8
source activate testenv
pip install -r requirements.txt
You can see the complete list of required packages in omnidata-tools/torch/requirements.txt. We recommend using virtualenv for the installation.
Pretrained Models
You can download our pretrained models for surface normal estimation and depth estimation. For each task there are two versions of the models--a V1 used in the paper, and a stronger V2 released in March 2022.
Network Architecture
Version 2 models (stronger than V1)
These are DPT architectures trained on more data using both 3D Data Augmentations and Cross-Task Consistency. Here's the list of updates in Version 2 models:
- Surface Normal Prediction:
- New model is based on DPT architecture.
- Habitat-Matterport 3D Dataset (HM3D) is added to the training data.
- 1 week of training with 2D and 3D data augmentations and 1 week of training with cross-task consistency.
| Angular Error | % Within t | Relative Normal | ||||||
|---|---|---|---|---|---|---|---|---|
| Method | Training Data | Mean | Median | 11.25 | 22.5 | 30 | AUC_o | AUC_p |
| Hourglass | OASIS | 23.91 | 18.16 | 31.23 | 59.45 | 71.77 | 0.5913 | 0.5786 |
| UNet (v1) | Omnidata | 24.87 | 18.04 | 31.02 | 59.53 |
71.37 | 0.6692 | 0.6758 |
| DPT (v2) | Omnidata | 24.16 | 18.23 | 27.71 | 60.95 |
74.15 | 0.6646 | 0.7261 |
| Human (Approx.) | - | 17.27 | 12.92 | 44.36 | 76.16 | 85.24 | 0.8826 | 0.6514 |
- Depth Prediction:
- Habitat-Matterport 3D Dataset (HM3D) and 5 MiDaS dataset components (RedWebDataset, HRWSIDataset, MegaDepthDataset, TartanAirDataset, BlendedMVS) are added to the training data.
- 1 week of training with 2D and 3D data augmentations and 1 week of training with cross-task consistency.
Version 1 models
The surface normal network is based on the UNet architecture (6 down/6 up). It is trained with both angular and L1 loss and input resolutions between 256 and 512.
The depth networks have DPT-based architectures (similar to MiDaS v3.0) and are trained with scale- and shift-invariant loss and scale-invariant gradient matching term introduced in MiDaS, and also virtual normal loss. You can see a public implementation of the MiDaS loss here. We provide 2 pretrained depth models for both DPT-hybrid and DPT-large architectures with input resolution 384.
Download pretrained models
sh ./tools/download_depth_models.sh
sh ./tools/download_surface_normal_models.sh
These will download the pretrained models for depth and normals to a folder called ./pretrained_models.
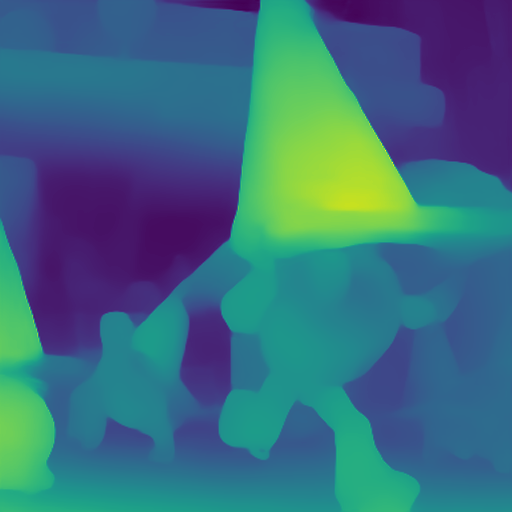
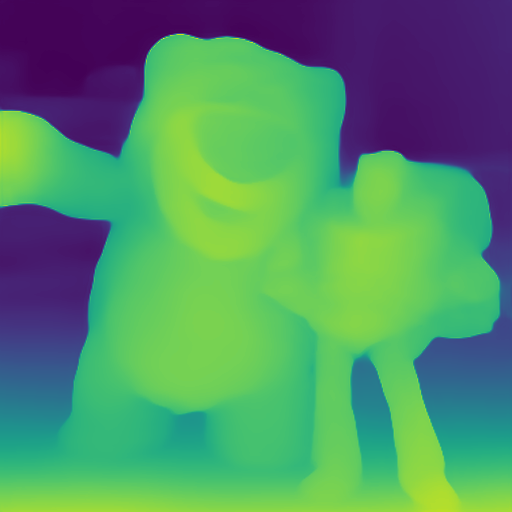
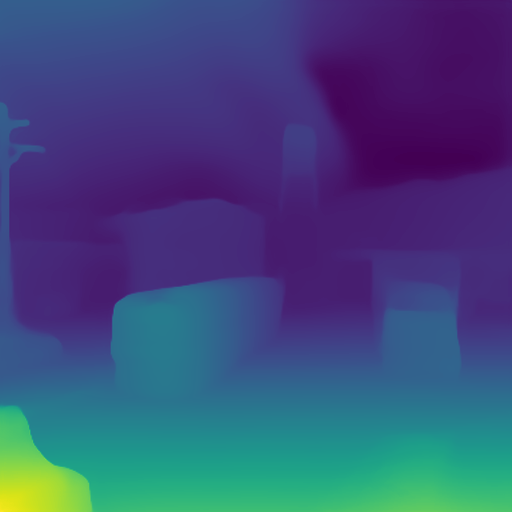
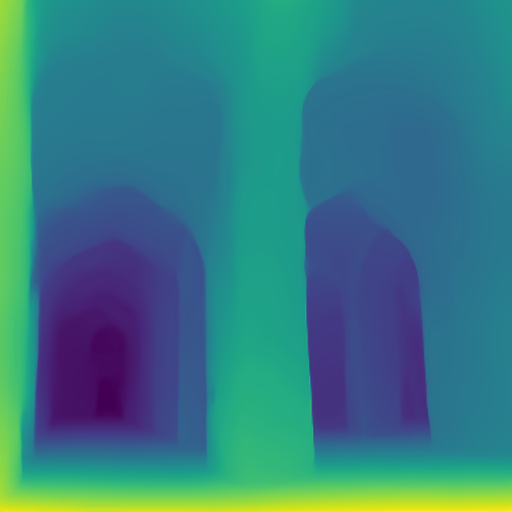
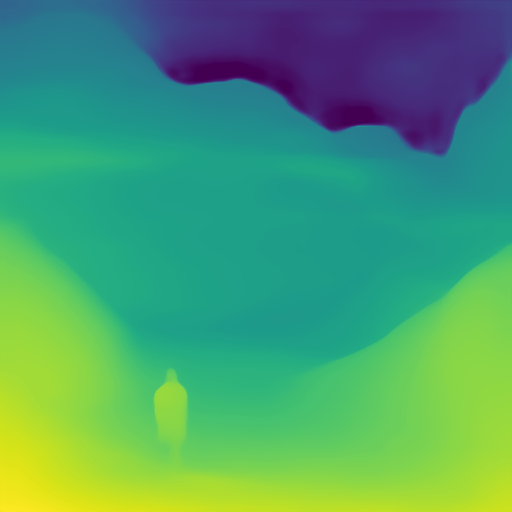
Run our models on your own image
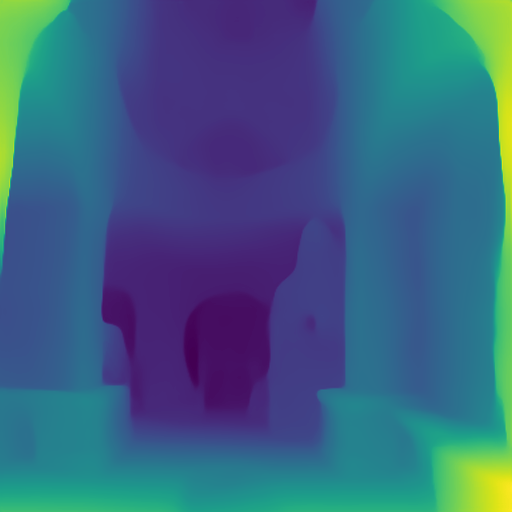
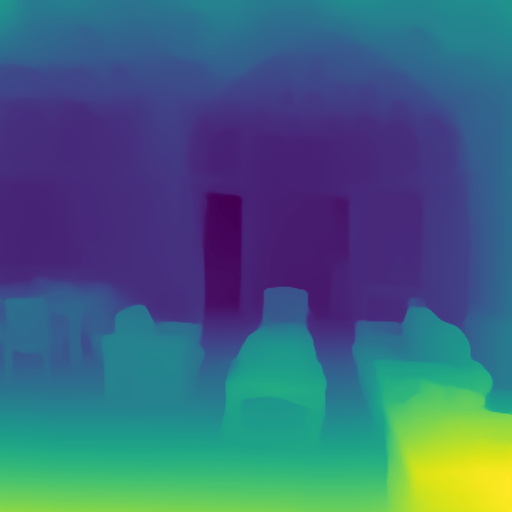
After downloading the pretrained models, you can run them on your own image with the following command:
python demo.py --task $TASK --img_path $PATH_TO_IMAGE_OR_FOLDER --output_path $PATH_TO_SAVE_OUTPUT
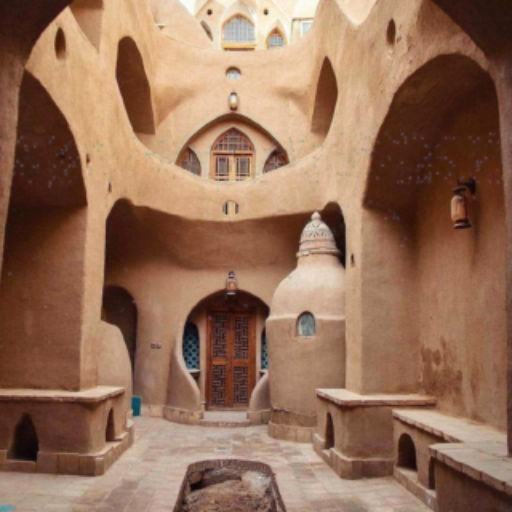
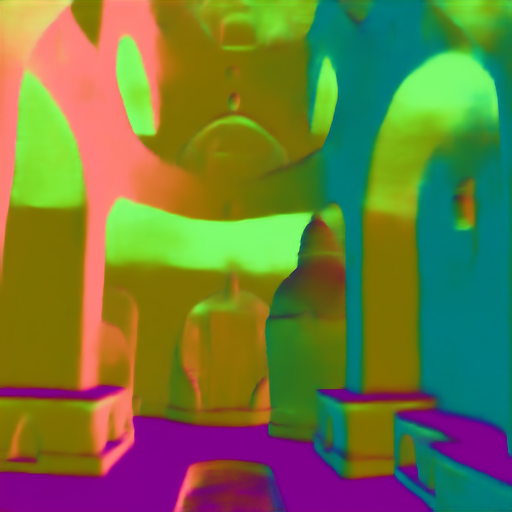
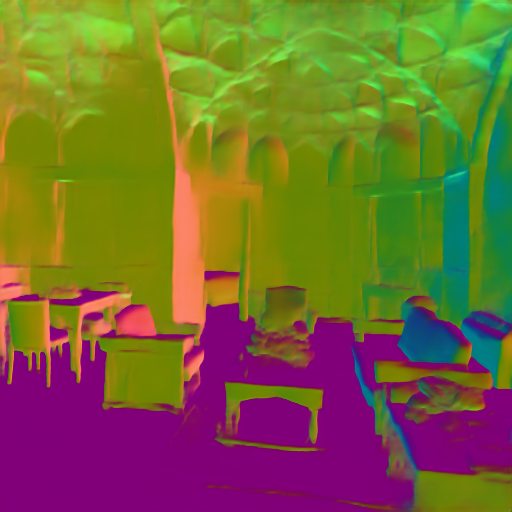
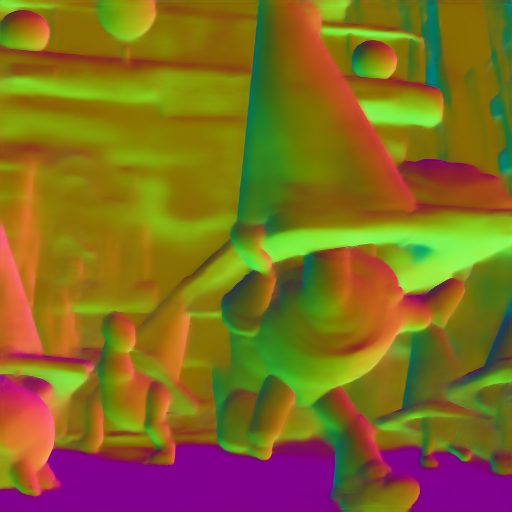
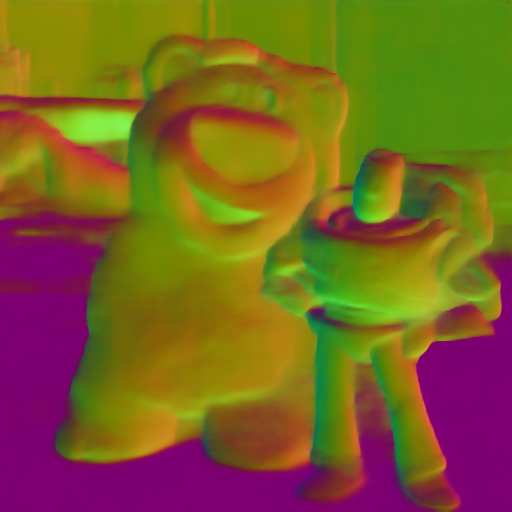
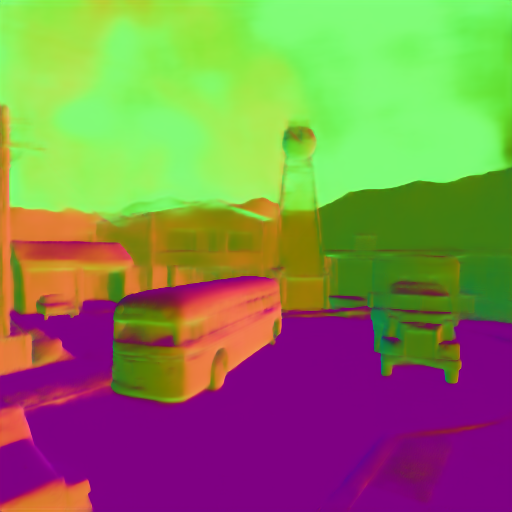
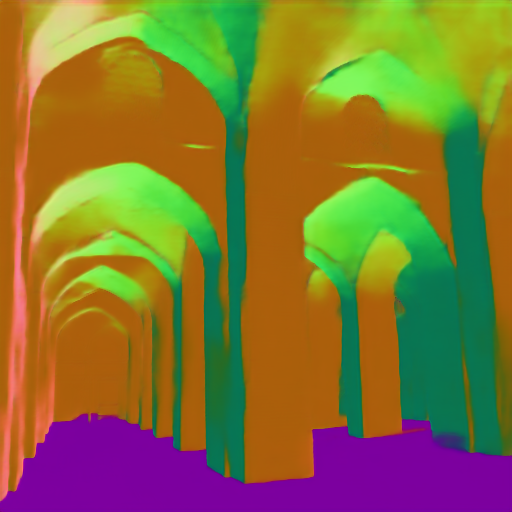
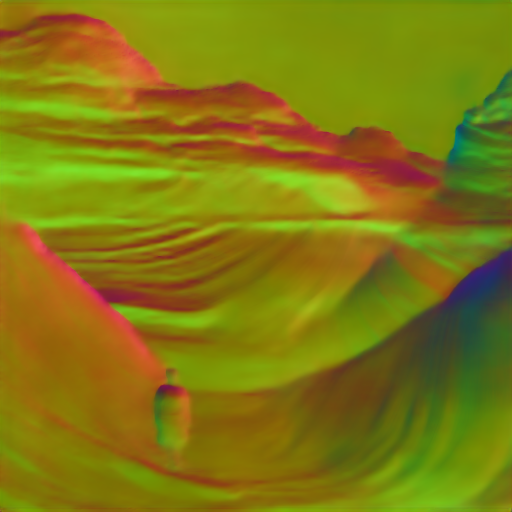
The --task flag should be either normal or depth. To run the script for a normal target on an example image:
python demo.py --task normal --img_path assets/demo/test1.png --output_path assets/
 |
 |
 |
 |
 |
 |
 |
 |
 |
 |
 |
 |
 |
 |
 |
 |
 |
 |
 |
 |
 |
Citation
If you find the code or models useful, please cite our paper:
@inproceedings{eftekhar2021omnidata,
  title={Omnidata: A Scalable Pipeline for Making Multi-Task Mid-Level Vision Datasets From 3D Scans},
  author={Eftekhar, Ainaz and Sax, Alexander and Malik, Jitendra and Zamir, Amir},
  booktitle={Proceedings of the IEEE/CVF International Conference on Computer Vision},
  pages={10786--10796},
  year={2021}
}
In case you use our latest pretrained models please also cite the following paper:
@inproceedings{kar20223d,
  title={3D Common Corruptions and Data Augmentation},
  author={Kar, O{\u{g}}uzhan Fatih and Yeo, Teresa and Atanov, Andrei and Zamir, Amir},
  booktitle={Proceedings of the IEEE/CVF Conference on Computer Vision and Pattern Recognition},
  pages={18963--18974},
  year={2022}
}